The short answer
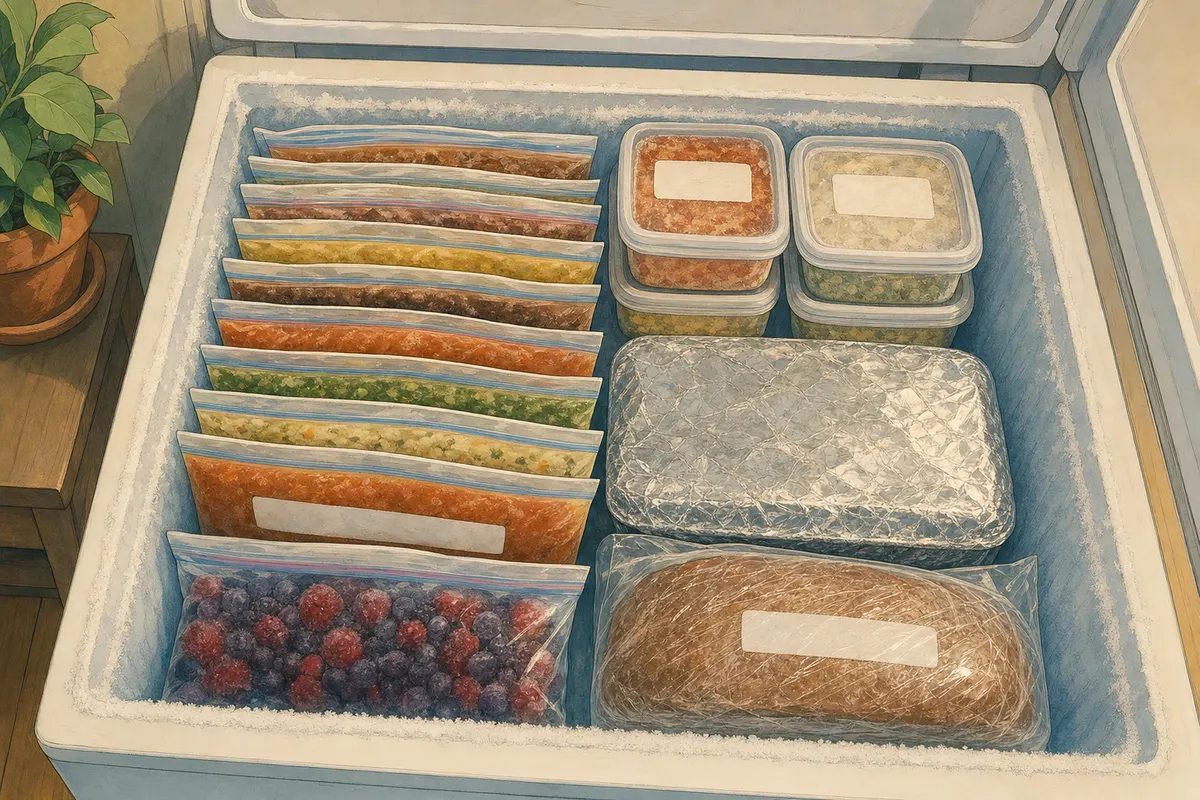
Food kept at 0°F stays safe indefinitely, so freezer times are about quality: most soups, stews, sauces, casseroles and cooked meat taste best within 2 to 3 months. Cool cooked food within 2 hours, pack it in meal-sized portions with the air pressed out, label it, and freeze it flat and spread out so it freezes fast. Thaw it in the fridge, in cold water or in the microwave, never on the counter, or cook it straight from frozen. Reheat leftovers to 165°F, and bring soups, sauces and gravy to a rolling boil.
How long food keeps in the freezer
| Food | Best quality at 0°F | Good to know |
|---|---|---|
| Soups and stews | 2–3 months | |
| Gravy and meat sauces | 2–3 months | Bring to a rolling boil when reheating |
| Casseroles, lasagna and baked pasta | 2–3 months | Leave crumb and cheese toppings off until baking day |
| Cooked meat | 2–3 months | |
| Cooked chicken or turkey | 4 months | |
| Frozen dinners and entrées | 3–4 months | |
| Pizza | 1–2 months | |
| Raw ground meat or poultry | 3–4 months | |
| Raw steaks, chops and roasts | 4–12 months | Overwrap the store package for long storage |
| Raw chicken or turkey | Pieces 9 months, whole 1 year | |
| Bacon | 1 month | |
| Sausage | 1–2 months | |
| Ham, hot dogs and lunch meat | 1–2 months | |
| Fatty fish (salmon, tuna, catfish) | 2–3 months | |
| Lean fish (cod, flounder, halibut) | 6–8 months | |
| Shrimp | 6–18 months | |
| Bread | 3 months | Gluten-free bread, about 1 month |
| Baked pumpkin or pecan pie | 1–2 months | Custard and chiffon pies shouldn't be frozen |
| Hard cheese | 6 months | Turns crumbly, so shred it or cook with it |
| Raw eggs, beaten | 12 months | Never freeze eggs in the shell |
| Fruit and vegetables | 8–12 months | Blanch vegetables first |
Times are for best quality, from the USDA freezer chart and FoodSafety.gov, with bread from King Arthur Baking and cheese, fruit and vegetables from the National Center for Home Food Preservation. Food kept at 0°F stays safe indefinitely. Where the USDA and FoodSafety.gov charts differ (FoodSafety.gov allows cooked meat up to 6 months, for example), the table uses the shorter time.
Step-by-step
- 1
Check that your freezer holds 0°F
Everything in this guide assumes 0°F or colder. The USDA recommends keeping an appliance thermometer in the freezer, which is also the easiest way to know what happened after a power outage. If the freezer compartment of your fridge can't hold 0°F, or the door opens all day, the USDA suggests using it for short-term storage and keeping anything you want for months in a stand-alone freezer. Before a big batch day, the National Center for Home Food Preservation suggests turning the control down to -10°F about 24 hours ahead so the new food freezes faster.
- 2
Cool cooked food fast, within 2 hours
The USDA gives cooked food 2 hours at room temperature (1 hour above 90°F) before it needs to be in the fridge. A big pot of soup stays warm in the middle for a long time, so divide it into shallow containers, or set the pot in a sink of ice water and stir until it cools. Hot food in shallow containers can go straight into the fridge. Let it chill there, ideally overnight, before it goes into the freezer: America's Test Kitchen points out that cold food freezes faster, which keeps the texture better.
- 3
Pack it in the portions you will eat
Freeze in amounts you'll use at one meal, so you only thaw what you need: a pint of soup for one or two people, a quart for four, bread slices in stacks of 2 to 4 (King Arthur Baking's tip, with parchment between them if you like). Small, flat portions also freeze and thaw much faster than one big block.
- 4
Squeeze out the air, but leave room for liquids to expand
Air touching the food is what causes freezer burn, the dry, grayish-brown patches the USDA describes. Press bags flat before sealing them and wrap solid food tightly. Liquids expand as they freeze, so leave headspace in rigid containers: the National Center for Home Food Preservation gives ½ inch for a wide-mouth pint and 1 inch for a wide-mouth quart, or ¾ inch and 1½ inches if the opening is narrow. Loose vegetables like broccoli, bony pieces of meat and bread need none.
- 5
Label every package before it goes in
Write what it is, the date, how much, and how to finish it, like "bake at 350°F, covered" or "bring to a boil." Michigan State University Extension puts the cooking directions right on the casserole label. Label bags before you fill them, while they are dry and flat, and use freezer tape or labels made for the freezer, which keep sticking at 0°F.
- 6
Freeze it flat and spread out, then stack it
The USDA says food 2 inches thick should freeze solid in about 2 hours, and fast freezing keeps ice crystals small, so meat stays juicy and sauces don't separate. Lay bags flat on a baking sheet and spread new packages in a single layer against the freezer's walls or floor, with space between them. Stack them only once they are solid; flat bags can then stand upright in a bin like files. Add no more than the freezer can freeze in a day, which the National Center for Home Food Preservation puts at 2 to 3 pounds of food per cubic foot of freezer space.
- 7
A list on the door helps you eat the oldest first
A list on the outside of the freezer, updated as things go in and come out, tells you what you have without digging, and keeps last winter's chili from hiding at the bottom. Group foods together (soups in one bin, meat in another) and put new packages behind the old ones. A full freezer also runs more efficiently, according to the National Center for Home Food Preservation, and stays cold about twice as long in a power outage.
Which containers to use
Freezer packaging has to keep air and moisture out and survive the cold without cracking. The National Center for Home Food Preservation recommends bags, wraps and containers made for freezing, because they block moisture and air better than ordinary storage ones.
- 1
Freezer bags for soups, sauces, rice and ground meat
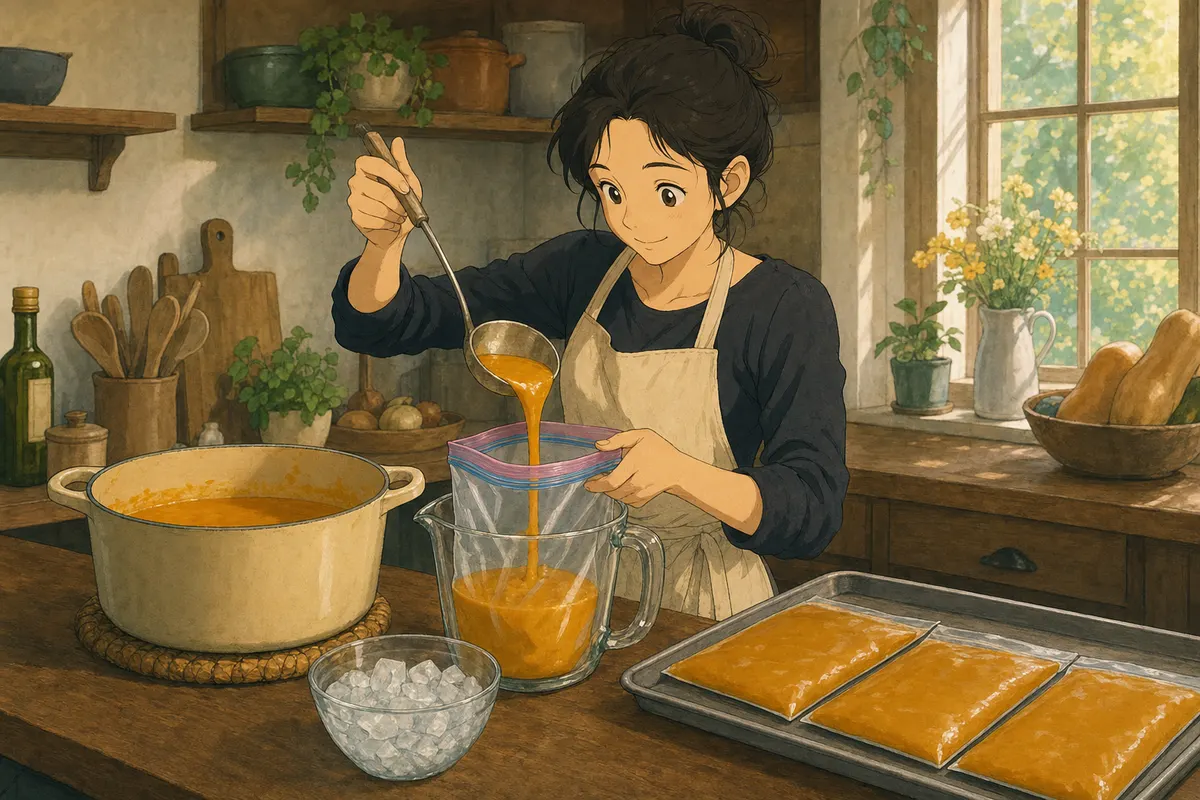
Zip-top freezer bags take the least space. America's Test Kitchen's method for soups and sauces: stand the bag in a 4-cup measuring cup or a tall container so it stays open, ladle in the cooled food, press out the air, seal it, and freeze it flat on a baking sheet. Once they're frozen, the flat bags stack or stand upright, and a thin slab thaws overnight and fits in any saucepan, where a tub-shaped block may not.
- 2
Straight-sided containers for stews, chili and single portions
Rigid plastic or glass containers work for anything, and they're the National Center for Home Food Preservation's pick for liquids. Choose straight sides so the frozen block slides out; with a tapered or narrow-necked container you have to thaw the food before you can get it out. If a lid doesn't fit tightly, seal the edge with freezer tape.
- 3
Glass jars, but only the right kind
Ordinary glass jars can crack in the freezer. Use wide-mouth jars sold for both freezing and canning, which are tempered for big temperature changes, and leave the headspace above; liquid that expands into a narrow neck can break the jar there. Don't put a cold glass dish into a hot oven unless its maker says it's freezer-to-oven safe.
- 4
Foil and foil pans for casseroles
To freeze a casserole without losing the dish for months, Michigan State University Extension suggests lining the pan with heavy-duty foil, leaving plenty hanging over the sides. Assemble the casserole, freeze it uncovered until solid, lift it out by the foil, fold the foil over the top, label it and put it back. To bake it, peel off the foil and set the block back in the same pan. A disposable foil pan skips that step.
- 5
Two layers for bread, baked goods and meat
King Arthur Baking's hotline bakers wrap a loaf in plastic and then put it in a bread bag, or wrap it in foil and then put it in an airtight container. The same idea works for meat: the USDA says store packaging is safe in the freezer but lets air through over time, so overwrap it with foil, freezer paper or a freezer bag for long storage. Vacuum-sealed packages from the store can go in as they are.
- 6
What to skip
Cottage cheese, ice cream and milk cartons aren't moisture-proof enough for long storage unless you line them with a freezer bag. For fruit and vegetables, the National Center for Home Food Preservation also says to avoid containers bigger than half a gallon, because the food in them freezes too slowly.
How to freeze each kind of food
Almost anything can be frozen, but not everything comes back well. The USDA's examples of foods that don't are mayonnaise, cream sauce and lettuce.
- 1
Soups, stews and broth
Soups and stews keep their best quality for 2 to 3 months. Soups with milk or cream may separate, potatoes turn soft and mealy, and pasta and rice go mushy, according to the National Center for Home Food Preservation. When you're cooking with the freezer in mind, freeze the base and add the cream, potatoes or noodles when you reheat it.
- 2
Sauces and gravy
Tomato sauce, meat sauce and gravy freeze well, and the USDA gives meat or poultry gravy 2 to 3 months. Sauces thickened with milk or cream, like Alfredo or a white sauce, can curdle or separate, and whisking them as they reheat can help. Small amounts, like leftover tomato paste or pesto, can be frozen in an ice cube tray and then moved to a bag.
- 3
Cooked meat and poultry
Cooked meat keeps its best quality for 2 to 3 months and cooked poultry for about 4. It dries out sooner than raw meat because, as the USDA notes, cooking has already driven off some of the moisture, so wrap it tightly. Slice roasts and pull chicken or turkey off the bone first: it cools faster, packs flatter and thaws faster.
- 4
Casseroles, lasagna and enchiladas
You can freeze a casserole assembled and unbaked, or bake it and freeze what is left. Either way, Michigan State University Extension says to use it within 2 to 3 months. Leave crumb and cheese toppings off, since the National Center for Home Food Preservation says they turn soggy in the freezer, and add them before baking.
- 5
Rice, grains and pasta
Here the sources disagree. The National Center for Home Food Preservation lists plain cooked rice and pasta among foods that turn mushy and taste warmed over when frozen on their own, while America's Test Kitchen freezes rice flat in bags like soup. Frozen rice does best where it is heated with other things, like fried rice, soup and burritos. Plain pasta cooks in about 10 minutes, so freezing it saves little.
- 6
Bread, rolls and baked goods
Let bread cool completely before wrapping it, or the trapped steam turns into moisture that can cause mold. King Arthur Baking gives most bread up to 3 months frozen. Add glazes, frosting and melted butter after thawing; seeds and nuts can be frozen as they are. To thaw, leave the wrapped loaf on the counter for about 3 hours (rolls about 1 hour, slices under 30 minutes or straight into the toaster), then crisp a crusty loaf in a 350°F oven for a few minutes. Baked pumpkin and pecan pies keep 1 to 2 months, but FoodSafety.gov says not to freeze custard or chiffon pies.
- 7
Fruit
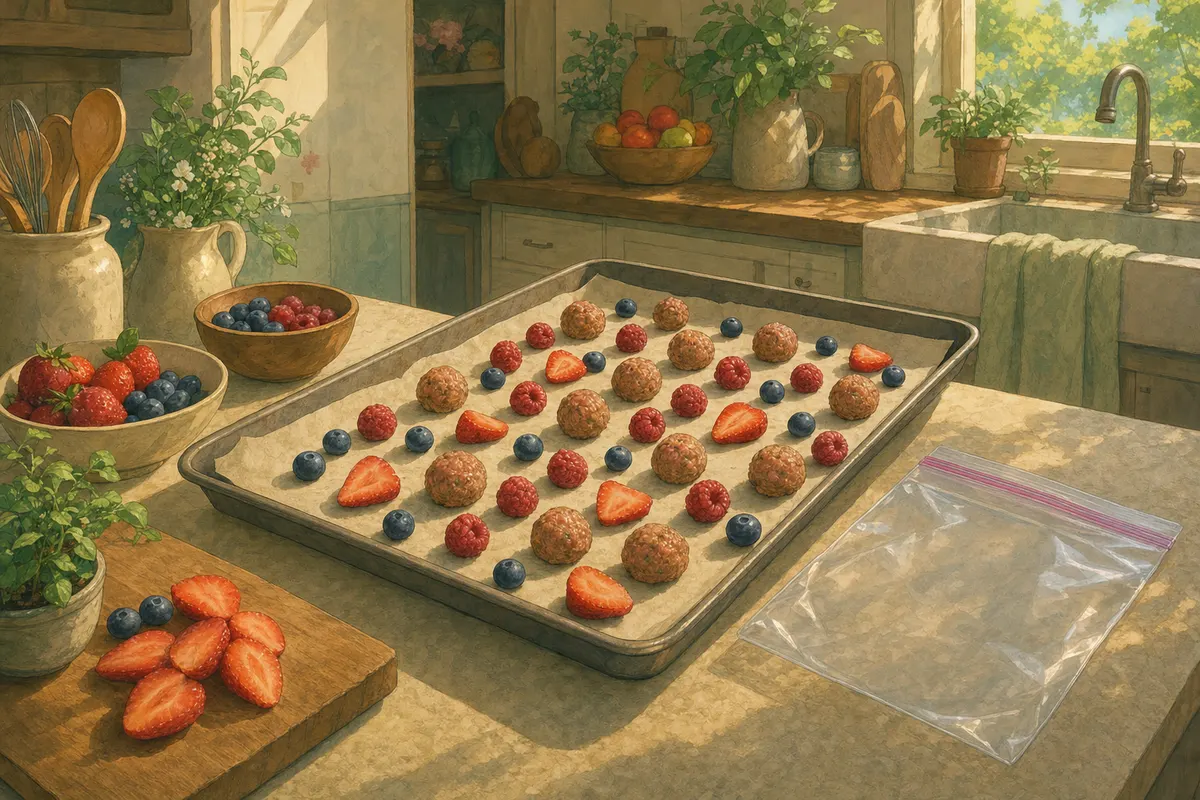
Berries and cut fruit freeze best on a tray first. Spread them in one layer on a sheet pan, freeze until hard, then bag them right away so they don't get freezer burn, and they'll pour out loose instead of in one lump. Sugar isn't needed for safety; the National Center for Home Food Preservation says it only helps flavor, color and texture. Thawed fruit is soft, so serve it with a few ice crystals left, or use it in smoothies, sauces, pies and baking.
- 8
Vegetables and herbs
Most vegetables need blanching first: a short boil, then a fast chill in ice water. It stops the enzymes that otherwise dull color, flavor and texture even at 0°F. The National Center for Home Food Preservation's times include 3 minutes for green beans, 3 minutes for broccoli florets 1½ inches across, 1½ minutes for green peas, 2 minutes for diced carrots, and 4 minutes for corn kernels (blanch the ears, then cut the corn off). Cook frozen vegetables straight from the freezer. Herbs can be wrapped in small bunches and frozen in a bag for cooking, though they go limp and won't work as a garnish. Lettuce, cucumbers, celery and radishes for eating raw don't freeze well at all.
- 9
Eggs, cheese and dairy
Don't freeze eggs in the shell. Beat the yolks and whites together and freeze them in a container for up to 12 months. Hard-cooked eggs and cooked egg whites turn rubbery. Hard cheese like cheddar keeps about 6 months in ½- to 1-pound pieces; it gets crumbly, so shred it or cook with it. Cream cheese, cottage cheese, ricotta and sour cream separate and turn watery. Thaw butter, cheese and milk in the fridge.
How to thaw food safely
Food is safe while it stays frozen, but once its surface warms above 40°F, any bacteria that were there before freezing start multiplying again. On the counter or in hot water, the outside of a package sits in that range for hours while the middle is still frozen. The USDA's three safe methods either keep the outside cold or, with the microwave, go straight to cooking, and cooking from frozen is a fourth option.
- 1
In the fridge: the safest, if you plan ahead
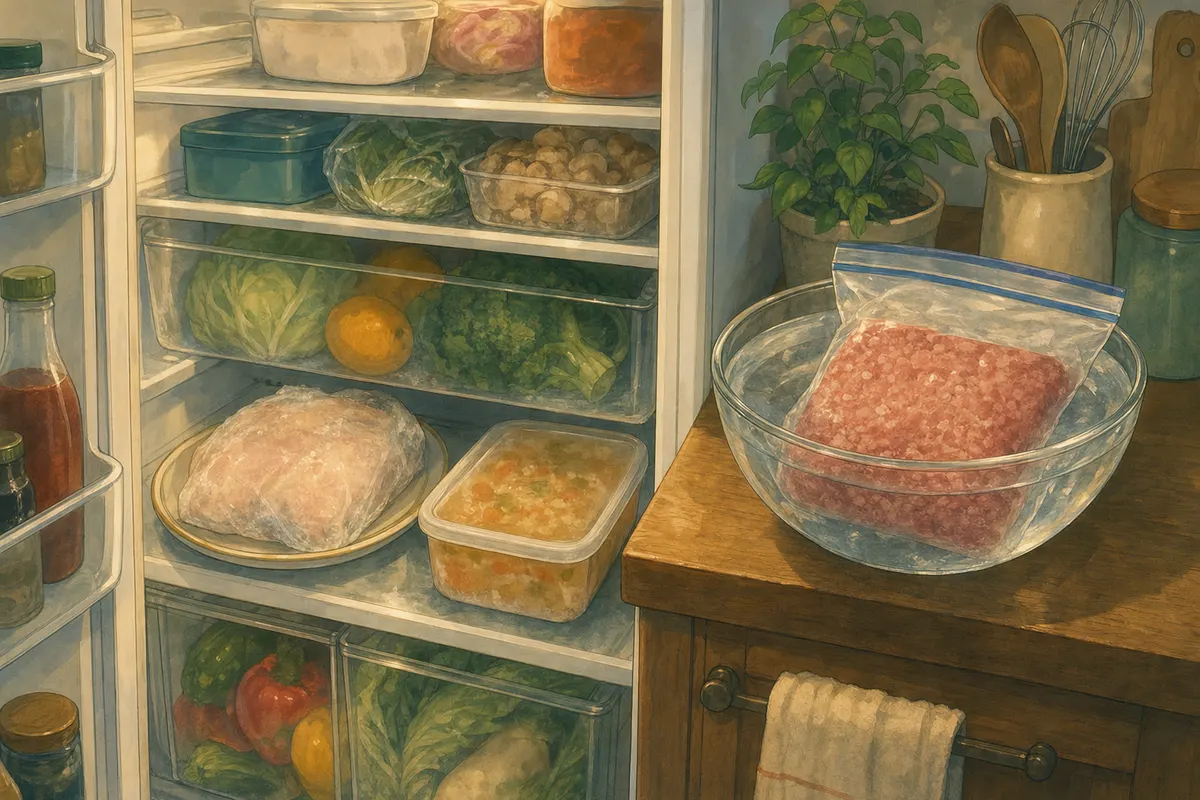
Allow about 24 hours for every 5 pounds, and a full day even for a pound of ground meat or chicken breasts; a thin, flat bag of soup or sauce may thaw overnight. Put the package on a plate or in a pan on the bottom shelf so drips can't reach other food. Once thawed, ground meat, poultry and seafood keep 1 to 2 more days, roasts, chops and steaks 3 to 5 days, and cooked leftovers 3 to 4 days.
- 2
In cold water: faster, but stay nearby
Seal the food in a leak-proof bag and submerge it in cold tap water, changing the water every 30 minutes so it stays cold. A 1-pound package takes about an hour or less, a 3- to 4-pound package 2 to 3 hours, and a whole turkey about 30 minutes per pound. Cook it as soon as it has thawed, and cook it before refreezing it. The National Center for Home Food Preservation is stricter and uses this method only for food that will thaw in under 2 hours.
- 3
In the microwave: for food you'll cook right away
Use the defrost setting and cook the food as soon as it has thawed, because some edges start cooking while the middle thaws, and those warm spots are where bacteria grow. For frozen leftovers, keep heating until the food reaches 165°F.
- 4
Straight from frozen: safe, just slower
Raw or cooked meat, poultry, soups and casseroles can all be cooked from frozen; the USDA says to plan on about 50 percent more time. Thaw two things first, according to the National Center for Home Food Preservation: anything you'll bread and fry, which is hard to coat while frozen, and any bird you plan to stuff yourself, which has to thaw completely to be safe. A frozen bird that was stuffed at the plant is the opposite: the USDA says it must be cooked from frozen, never thawed first.
How to reheat frozen food
Frozen and thawed leftovers both need to reach 165°F all the way through. A food thermometer in the center is the only reliable check, especially with a microwave, which heats unevenly.
- 1
Soups, stews, sauces and gravy: bring them to a boil
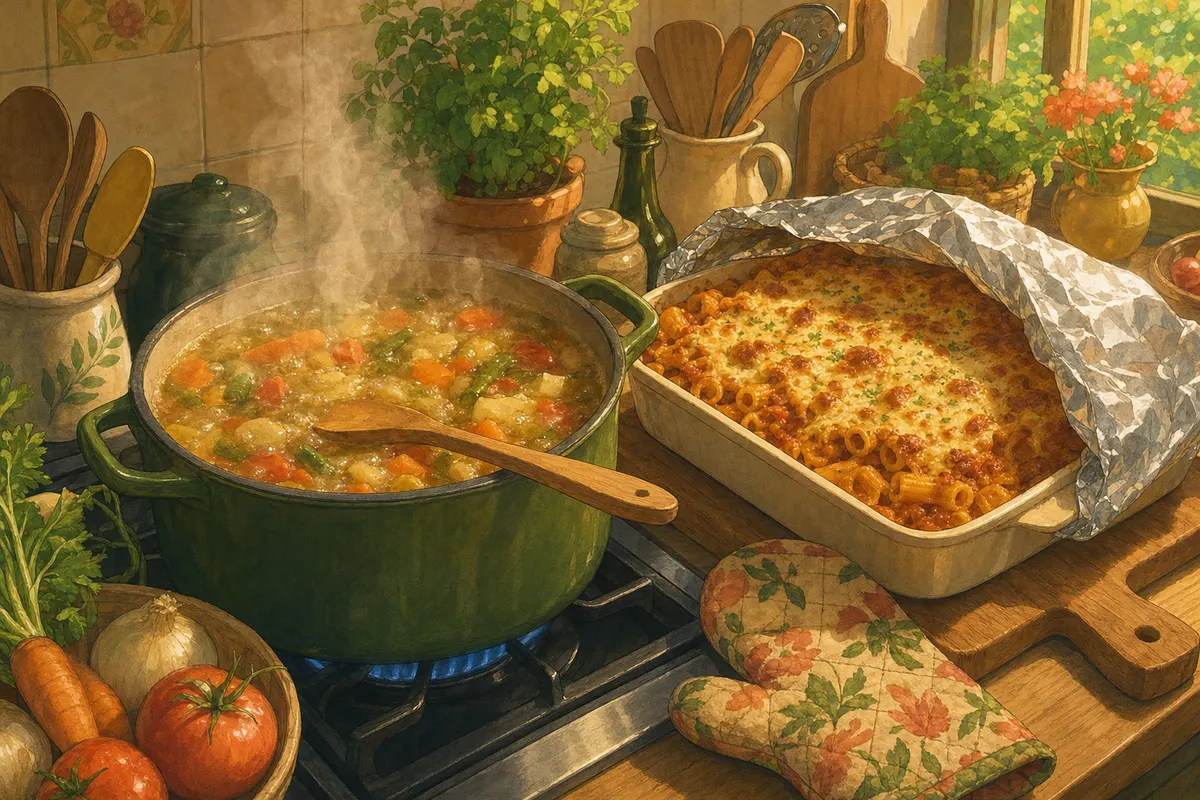
The USDA's rule for soups, sauces and gravy is a rolling boil. The easiest routine for a flat bag of soup is to thaw it in the fridge overnight, open the bag and slide the soup into a saucepan (it comes out fine even if the middle is still slushy). Heat it on medium-low, stirring as it melts, with a splash of water or broth if it looks thick, then turn it up to a boil. You can also start from frozen, which the USDA says is fine. Run the bag or container under warm water for a few seconds so the block slips out, set it in a pot with a splash of water, cover it and heat it gently, breaking off pieces with a sturdy spoon as the outside softens. If the block doesn't fit the pot, don't force it. Let it thaw in the fridge until you can break it up. Add cream, milk or fresh herbs at the end, then taste it. The National Center for Home Food Preservation notes that freezing changes seasonings (pepper, cloves and garlic get stronger, salt loses flavor, onion changes), so season lightly before freezing and adjust now.
- 2
Casseroles: the oven keeps the texture
The oven reheats casseroles more evenly than a microwave and keeps them from going mushy. Bake at 350°F covered loosely with foil, and uncover it near the end if the top needs to brown. Straight from the freezer, Michigan State University Extension says to plan on about double the usual time. Check the center: the USDA's number for leftovers is 165°F (Michigan State gives 160°F for casseroles, and 165°F covers both).
- 3
In the microwave: cover, stir and let it stand
Cover the food with a vented lid or wrap, add a little liquid if it looks dry, and stir or turn it partway through. Microwaves leave cold spots, so let the food stand for a short time, then check the temperature in several places.
- 4
Meat and poultry: add moisture and go gently
The USDA recommends covering leftovers while they reheat to keep the moisture in. Sliced meat and chicken dry out quickly on their own, so warm them in a covered dish with a few spoonfuls of broth, sauce or gravy, or stir them into a soup or sauce near the end so they heat through without overcooking.
Common mistakes to avoid
- ✕
Freezing food to rescue it at the last minute
The freezer keeps food at the quality it went in with. The USDA notes that food frozen at its peak comes out tasting better than food frozen near the end of its life, so freeze leftovers you won't get to as soon as you know it, rather than on the last possible day. Day 3 or 4 after cooking is the latest they should go in, and sooner tastes better.
- ✕
Using the garage, the porch or a snowbank as a freezer
It's tempting in a Minnesota winter, whether to thaw something or to save food during a power outage. The USDA warns against it: sunlight can thaw frozen food even on a very cold day, the temperature outside changes hour by hour, and animals can get to it. The same goes for thawing food in a car, the basement or the dishwasher.
- ✕
Opening cans that froze in the car or garage
A can that froze and only swelled may still be usable, the USDA says, if you are sure the cold caused the swelling. Thaw it in the fridge before opening, and throw it out if it doesn't look and smell normal (don't taste it to check). If the seams have rusted or burst, wrap the can in plastic and throw it away where no person or animal can get to it.
- ✕
Roasting a frozen bird with the giblets inside
Cooking a whole chicken or turkey from frozen is safe, but the bag of giblets is frozen inside the cavity. The USDA says to pull it out as soon as it loosens during cooking and cook the giblets separately.
Why Culinary Card works for this
Freezing notes tend to get separated from the recipe, with "add the cream after thawing" on a sticky note somewhere. Culinary Card has a notes section on every recipe, so the freezing and reheating directions stay with the recipe and print on the card, though a strip of tape on the container works just as well for the label.
Frequently asked questions
Is freezer-burned food safe to eat?
Yes. The USDA says freezer burn makes food dry in spots but not unsafe. Cut away the grayish-brown, leathery patches before or after cooking. Food that is freezer-burned all over is still safe, but the USDA says heavily freezer-burned food may have to be thrown out for quality reasons.
Can you refreeze food after it thaws?
It depends on how it thawed. Food thawed in the fridge can be refrozen without cooking, though it loses some moisture. Food thawed in cold water or the microwave has to be cooked first. Raw food that was frozen and then cooked can be frozen again as a cooked dish, and leftovers reheated to 165°F can go back in. If you thawed a big container in the fridge, you can take what you need and refreeze the rest without reheating it. Never refreeze anything that sat out longer than 2 hours (1 hour above 90°F).
How long does food stay frozen if the power goes out?
Keep the door shut. FoodSafety.gov says a full freezer holds a safe temperature for about 48 hours and a half-full one about 24, and the USDA suggests pushing packages together so they stay cold longer. When the power comes back, anything that still has ice crystals or is at 40°F or below can be refrozen or cooked, raw meat included. Throw out food that has been above 40°F for more than 2 hours, anything soaked in raw meat juices, and ice cream that has gone soft.
Does freezing kill bacteria?
No. At 0°F, bacteria, yeasts and molds go dormant, and once the food thaws they grow at about the same rate as on fresh food, so thawed food needs the same care as fresh. The USDA also says a home freezer can't be relied on to kill parasites such as trichina in pork or game; thorough cooking does.
Why did my frozen meat change color?
Red meat often turns dark or pale brown in the freezer, from lack of oxygen, freezer burn or long storage. In young chicken, the bones and the meat next to them can darken, because pigment seeps out of the porous bones as the meat freezes and thaws. Neither makes it unsafe. Frozen vegetables and cooked food that look dull have usually dried out from loose packaging or too long in the freezer.
How can I tell if something that has been in the freezer for a long time is still good?
If it stayed at 0°F, it's safe, so the question is quality. Thaw it and smell it first: some foods turn rancid or smell off after too long, and those should go. Food that is edible but not good enough to serve on its own can go into soups and stews, which is what the USDA suggests.
Sources
- Freezing and food safety, USDA Food Safety and Inspection Service
- The big thaw: safe defrosting methods, USDA Food Safety and Inspection Service
- Leftovers and food safety, USDA Food Safety and Inspection Service
- Cold food storage chart, FoodSafety.gov
- Food safety during a power outage, FoodSafety.gov
- Freezing: containers, headspace, pointers, foods that do not freeze well, blanching times, and thawing, National Center for Home Food Preservation, University of Georgia
- Space-saving storage for soups and sauces, America's Test Kitchen
- How to freeze bread, King Arthur Baking
- How to freeze your favorite casserole, Michigan State University Extension